Dungeons and Dragons (DnD) has captured the imaginations of players worldwide for decades, providing an immersive and fantastical gaming experience. As technology continues to advance, many players seek unique ways to enhance their gaming sessions, and one popular trend is crafting personalized 3D model DnD dice. In this comprehensive guide, we'll explore the step-by-step process of creating your own custom 3D model DnD dice, from conceptualization to printing. Let's dive into the exciting world of DIY dice creation.
Understanding the Basics
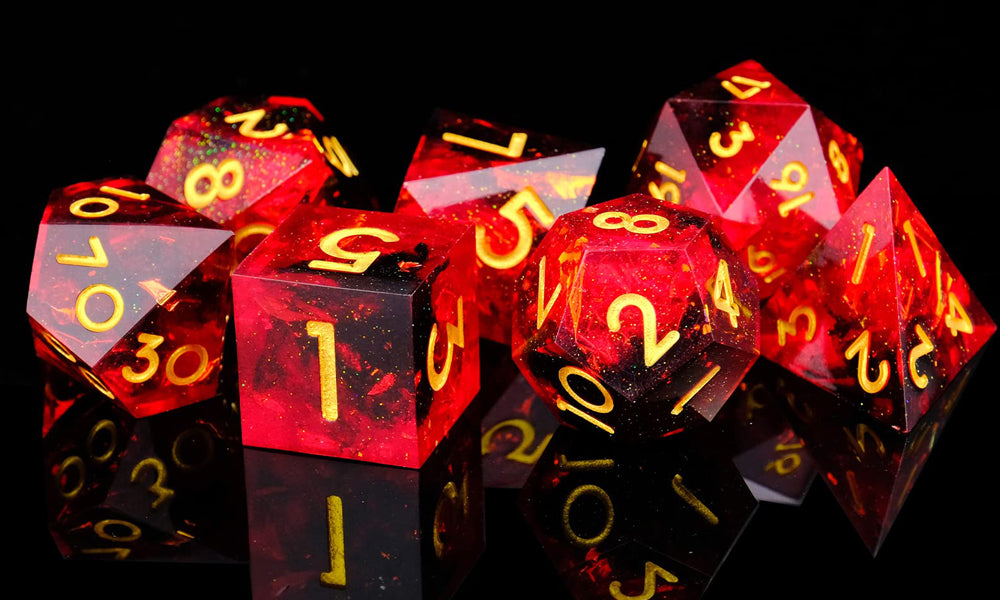
Before delving into the intricate details of 3D modeling, it's crucial to grasp the fundamental concepts of DnD dice. Dungeons and Dragons uses a set of seven polyhedral dice, each with a different number of sides. These include the iconic 20-sided die (d20), the standard 6-sided die (d6), and others like the d4, d8, d10, d12, and percentile die. Familiarize yourself with these dice and their respective uses in the game to inform your 3D model design.
Choosing a 3D Modeling Software
To begin your journey into 3D modeling, select a software that suits your skill level and preferences. Blender, Tinkercad, and Fusion 360 are popular choices, offering varying levels of complexity. If you're a beginner, Tinkercad's user-friendly interface might be a good starting point. For more advanced users, Blender or Fusion 360 provide a broader range of tools and features.
Designing Your Dice
Creating a 3D model of your dnd dice involves meticulous design work. Start by sketching out your ideas on paper, considering the aesthetic and thematic elements you want to incorporate. Whether it's a dragon-themed d20 or a celestial-inspired d12, let your imagination run wild.
Once you have a clear vision, transfer your sketches into the chosen 3D modeling software. Begin with the basic shape of the die and gradually refine its details. Pay attention to the numbering on each face, ensuring clarity and readability during gameplay.
Adding Personal Touches
Differentiate your custom dice by adding personal touches that reflect your gaming style. Consider incorporating symbols, runes, or intricate patterns onto the faces of the dice. These details not only enhance the overall design but also make your dice stand out on the gaming table.
Experiment with color schemes to make your dice visually striking. Many 3D modeling software options allow you to apply textures and colors to different parts of your model, giving you the freedom to create a truly unique piece.
Testing Your Design
Before proceeding to the printing stage, thoroughly test your 3D model in a virtual environment. Some 3D modeling software provides simulation features that allow you to roll your digital dice virtually. This step helps identify any design flaws or inconsistencies that may affect the dice's balance or readability.
Make necessary adjustments based on the test results, ensuring that your final design meets both aesthetic and functional requirements.
Selecting a 3D Printer and Material
Choosing the right 3D printer and material is crucial to bringing your 3D model to life. Consider factors such as print resolution, build volume, and the type of filament compatible with your chosen printer. Common 3D printing materials for dice include PLA and resin, each offering unique advantages.
PLA (polylactic acid) is a biodegradable and easy-to-print material suitable for beginners. Resin, on the other hand, provides high-resolution prints with smooth surfaces, making it ideal for intricate designs.

Printing Your Dice
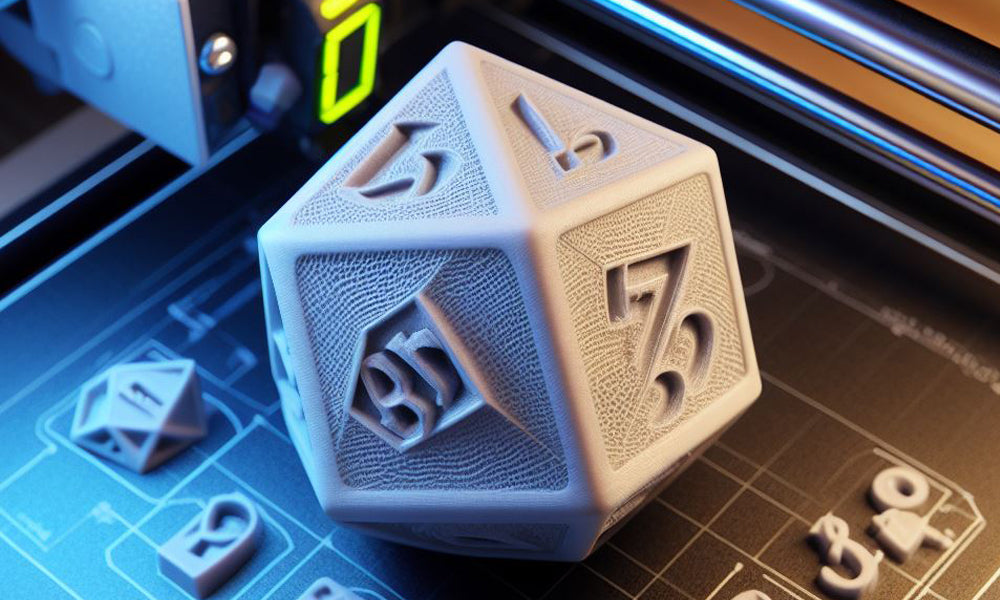
Once you've selected a printer and material, it's time to bring your 3D model into the physical realm. Set up your printer according to the manufacturer's instructions and load the chosen filament or resin.
Ensure that your 3D model is positioned correctly on the print bed, taking into account the orientation and support structures needed. Start the printing process and monitor it closely to address any issues that may arise.
Post-Processing and Finishing
After the printing is complete, carefully remove the dice from the print bed. Depending on the material used, post-processing steps may vary.
For PLA prints, remove any support structures and sand the dice to smooth out imperfections. Resin prints may require additional curing under UV light to enhance durability. Consider painting or applying a clear coat to add a final layer of protection and aesthetics.
Quality Assurance and Playtesting
Before introducing your custom dice to your gaming sessions, conduct thorough quality assurance and playtesting. Roll the dice multiple times to ensure they maintain balance and readability. This step is crucial for guaranteeing a positive gaming experience without compromising fairness or functionality.
Showcasing Your Creations
Celebrate your creativity and share your custom 3D model DnD dice with the gaming community. Take high-quality photos and showcase your designs on social media platforms, forums, or dedicated websites. Engage with fellow enthusiasts, gather feedback, and inspire others to embark on their own dice-crafting journeys.
Conclusion
Creating personalized 3D model DnD dice is a rewarding endeavor that allows you to blend creativity with gaming passion. By understanding the basics, choosing the right tools, and following a systematic design and printing process, you can bring your unique dice designs to life. Whether you're a seasoned 3D modeler or a beginner eager to explore the world of DIY dice crafting, this guide serves as a comprehensive resource for unleashing your creativity on the gaming table. Roll the dice and embark on your own adventure of custom creation!


Leave a comment
This site is protected by hCaptcha and the hCaptcha Privacy Policy and Terms of Service apply.